
How It Works
Three steps. One audible click. Done.
The HD OneTouch Coupler engages the reinforcing bar on insertion using an internal spring-loaded serrated jaw mechanism — creating a positive mechanical connection confirmed by an audible click.
Installation
Push, push, complete.
No bar-end threading, no rotation, no welding and no specialised installation tools.
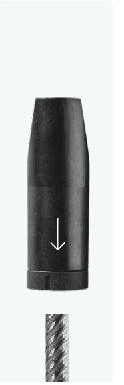
Listen for the click
- No bar threading required
- No welding required
- No specialised installation tools
- No bar rotation during install
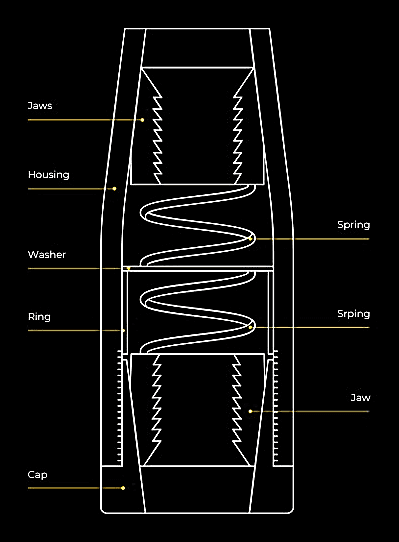
Internal mechanism
A spring-loaded serrated jaw lock.
The internal mechanism locks and secures the bar with its serrated grip jaws in a one-click action — tested and assessed against relevant Australian requirements.
- Jaws
- Upper serrated jaw set grips the first bar
- Housing
- One-piece coupler body
- Spring
- Spring-loaded engagement, twin coil
- Washer
- Seats the spring within the housing
- Ring
- Retains the internal assembly
- Jaw
- Lower serrated jaw set grips the second bar
- Cap
- Closes and locates the lower assembly
Before you start
Rebar end preparation
A clean, square bar end ensures correct engagement and a reliable splice.
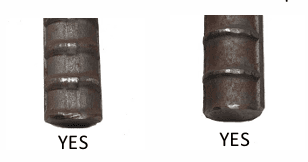
Acceptable preparation
- Cut rebar ends square
- Keep ends free from deformation
- Remove all burrs
- Lightly chamfer the ends
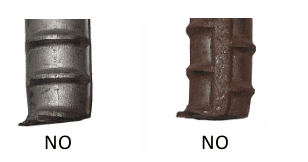
Not acceptable
- Bent or mushroomed rebar ends shall not be used
Quality assurance
Post-installation inspection checklist
A simple visual check confirms a compliant splice every time.
Coupler sizeCorrect
Rebar sizeCorrect
Rebar endsSquare & deburred
Coupler conditionNo damage
InstallationComplete
Traceability markVisible
Visual inspectionPassed
Audible clickConfirmed